If you’ve ever wondered how to program a garage door opener with a rolling code system, you’re in the right place! This guide will walk you through the process step-by-step. So, whether you’re a DIY enthusiast or simply want to know how it’s done, keep reading to discover how to tackle this handy task.
Programming a garage door opener might sound complicated, but don’t worry, it’s easier than you think! With a rolling code system, your garage door opener uses a unique code each time you press the button, adding an extra layer of security. So let’s dive in and learn how to program this type of opener.
Ready to get started? Great! In just a few simple steps, you’ll have your garage door opener programmed and ready to go. Don’t worry, we’ll break it down for you, making it easy for you to follow along and conquer this DIY project. Let’s jump right in!
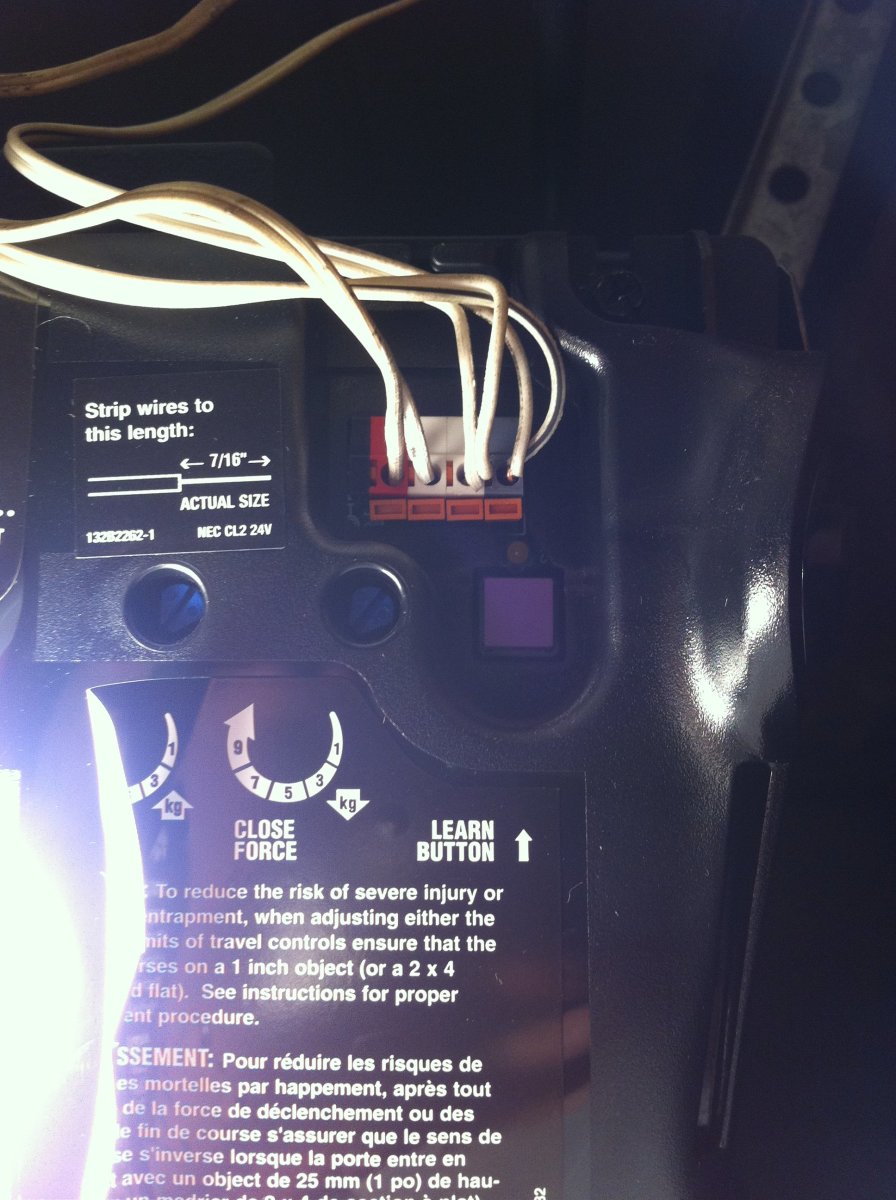
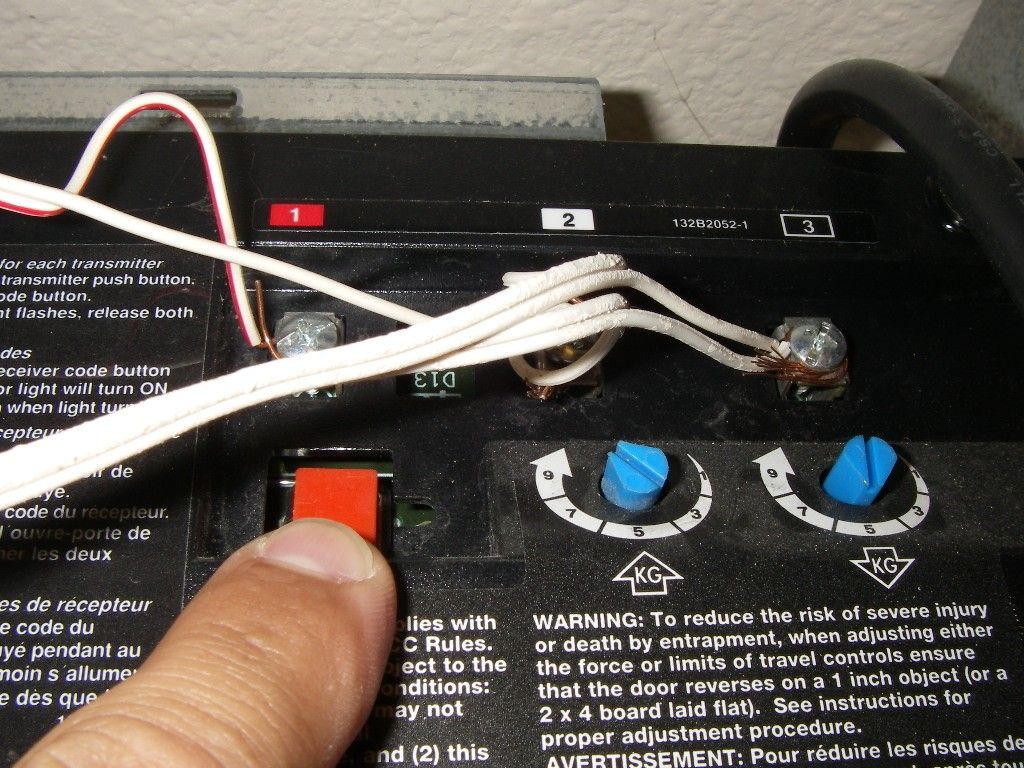
- Locate the “learn” button on your garage door opener.
- Press and release the “learn” button. The LED light will start blinking.
- Within 30 seconds, press and hold the button on your garage door opener remote control.
- Release the button when the garage door opener’s LED light stops blinking.
- Test the remote control by pressing the button to open or close the garage door.
Ensure you follow these steps for successfully programming your garage door opener with a rolling code system.

How to Program a Garage Door Opener with a Rolling Code System
Welcome to our comprehensive guide on programming a garage door opener with a rolling code system. This advanced technology ensures the safety and security of your garage by generating a unique code every time you use the door opener. In this article, we will walk you through the step-by-step process of programming your garage door opener with a rolling code system, along with tips and troubleshooting advice. Let’s dive in!
Understanding Rolling Code Systems
Before we delve into the programming process, it’s essential to understand how rolling code systems work. A rolling code system is a security feature that prevents unauthorized access to your garage. It involves a transmitter and receiver that work together to generate a new code every time you open or close the garage door. This dynamic code ensures that only the owner’s remote control can operate the door. Let’s explore the steps to program your garage door opener with a rolling code system.
Step 1: Locate the “Learn” Button
The first step is to find the “Learn” button on your garage door opener. This button is typically located on the back or side of the opener motor unit. Consult your owner’s manual for the precise location. Once you locate the button, make sure the garage door is closed before proceeding to the next step.
h4>Step 1.1: Prepare Your Remote Control
Before you begin programming, ensure that you have your remote control handy. Remove any batteries or protective packaging materials that may have been placed during shipping. It’s crucial to have a functional remote control to proceed with the programming process.
Step 2: Press the “Learn” Button
Once you have located the “Learn” button, press and release it. You should see an indicator light or LED on the motor unit flash or turn on. This indicates that the opener is in programming mode and ready to learn the new remote control code.
h4>Step 2.1: Take Note of the Indicator Light
Pay attention to the behavior of the indicator light on the motor unit. Some openers may have a steady light, while others may blink. Understanding the specific pattern or color of the indicator light will be useful for troubleshooting or future reference.
Step 3: Program the Remote Control
With the opener in programming mode, it’s time to program your remote control. Press the desired button on the remote control that you wish to use for operating the garage door. You should hear a clicking sound or see the indicator light on the motor unit respond to confirm the successful programming of the remote control.
h4>Step 3.1: Test the Remote Control
After programming the remote control, it’s important to perform a test to ensure everything is working correctly. Stand at a safe distance from the garage door and press the button you programmed on the remote control. The door should open or close smoothly, indicating a successful programming process.
Step 4: Repeat the Process if Needed
If you have multiple remote controls or need to add additional ones, simply repeat steps 3 and 4 for each remote control. Remember, each remote control needs to be programmed individually to work with the rolling code system.
h4>Step 4.1: Keep Track of Programmed Remotes
As you add remote controls to your garage door opener, it’s essential to keep track of the programmed devices. Make a note of the button each remote control is assigned to for easy reference and troubleshooting in the future.
Troubleshooting Tips
While programming a garage door opener with a rolling code system is usually a straightforward process, you may encounter some challenges along the way. Here are a few troubleshooting tips to help you overcome common issues:
- Make sure the batteries in your remote control are correctly installed and functional.
- Check that you are following the correct programming steps outlined in your owner’s manual.
- Verify that the garage door opener motor unit is receiving power.
- If the indicator light on your motor unit does not respond or behave as expected, consult the troubleshooting section of your owner’s manual or contact customer support for assistance.
- Ensure that you are standing within range of the opener when programming the remote control.
Benefits of a Rolling Code System
Now that you know how to program a garage door opener with a rolling code system, let’s explore the benefits of this advanced technology:
- Enhanced security: Rolling code systems generate a unique code for every operation, preventing unauthorized access and protecting your home.
- Convenience: Programming remote controls with rolling code systems is a straightforward process, providing you with ease of use and peace of mind.
- Compatibility: Rolling code technology is widely supported by garage door opener manufacturers, ensuring compatibility across different brands and models.
- Remote access: Many rolling code systems offer smartphone compatibility, allowing you to operate your garage door remotely using a mobile app.
- Peace and quiet: Rolling code systems use encrypted signals, reducing the chances of interference from neighboring garage door openers.
Conclusion
Programming a garage door opener with a rolling code system doesn’t have to be complicated. By following the step-by-step process outlined in this article and keeping the troubleshooting tips in mind, you can ensure a smooth programming experience. Remember to prioritize safety and security when it comes to your garage, and enjoy the convenience that a rolling code system brings to your everyday life. Happy programming!
Key Takeaways: How to Program a Garage Door Opener with a Rolling Code System
– A rolling code system is a security feature used in modern garage door openers.
– Before programming, locate the “learn” button on your garage door opener unit.
– Press the “learn” button and then quickly enter the desired code on your remote control.
– Repeat the process for each remote control you want to program.
– Test the programmed remotes to ensure they operate the garage door correctly.
Frequently Asked Questions
Are you struggling to program your garage door opener with a rolling code system? Don’t worry, we’ve got you covered! Check out these commonly asked questions to find the answers you need.
1. How do I reset a garage door opener with a rolling code system?
To reset a garage door opener with a rolling code system, you’ll need to locate the “Learn” or “Smart” button on your opener’s motor unit. Press and release this button, then within 30 seconds, press the button on your remote control that you want to program to the opener. The opener’s lights will flash or you may hear a beep, indicating that the programming was successful. Repeat this process for any additional remotes you want to program.
If you’re having trouble finding the “Learn” or “Smart” button, consult your garage door opener’s manual. Different models may have different methods for resetting the opener with a rolling code system.
2. Can I program a garage door opener with a rolling code system myself?
Yes, you can definitely program a garage door opener with a rolling code system yourself. Most garage door openers come with a user-friendly manual that provides step-by-step instructions for programming the opener to your specific remote control. Make sure to carefully follow the instructions and be patient during the process.
If you’re unsure about any steps or encounter any difficulties, don’t hesitate to consult the manufacturer’s customer support or refer to online resources for additional guidance. With a little bit of effort and attention to detail, you’ll be able to successfully program your garage door opener.
3. How often do I need to program a garage door opener with a rolling code system?
You typically only need to program a garage door opener with a rolling code system when you have a new remote control that you want to use with your opener. As long as your existing remote control is working fine and you’re not experiencing any issues with your opener, there’s no need to reprogram it frequently.
If you’re unsure whether the control needs to be reprogrammed or if you’re experiencing issues with the opener, refer to the manufacturer’s instructions included with your opener. They typically provide guidance on how to troubleshoot and when reprogramming is necessary.
4. Can I program multiple garage door opener remotes with a rolling code system?
Yes, you can program multiple remotes to your garage door opener with a rolling code system. Most openers allow you to program multiple remotes, making it convenient for multiple users in a household or for having spare remotes.
To program additional remotes, follow the same process of pressing the “Learn” or “Smart” button on the opener’s motor unit and then pressing the button on the remote control you want to pair. Repeat this for each remote you want to program, and all of them should work with your opener.
5. What should I do if my garage door opener with a rolling code system is not responding?
If your garage door opener is not responding, there are a few potential causes you can investigate. First, check the batteries in your remote control and replace them if needed. Ensure that the opener’s motor unit is receiving power and that the circuit breaker or fuse is not tripped.
If these steps don’t resolve the issue, try reprogramming the remote control to the opener by following the reset process mentioned earlier. If all else fails, consult the manufacturer’s troubleshooting guide or contact customer support for further assistance in diagnosing and resolving the problem.

Summary
So, to sum it up, programming a garage door opener with a rolling code system isn’t too complicated. First, find the Learn button on your opener and press it. Then, within 30 seconds, press the button on your handheld opener. Finally, wait for the opener’s lights to flash or hear a beep, and you’re good to go!
Remember, safety is important, so make sure to keep your hands clear of the door while programming and test it afterwards to ensure it’s working properly. With these simple steps, you’ll be able to program your garage door opener in no time!
