Do you ever wish you could control your garage door opener with your iPhone or iPad? Well, you’re in luck! In this guide, we’ll show you how to program a garage door opener with a HomeKit-compatible device.
Imagine being able to open or close your garage door with just a tap on your smartphone. It’s not just convenient, it’s also super cool! Whether you’re coming home from school or need to give access to a friend, using a HomeKit-compatible device makes it a breeze.
So, let’s dive in and learn how to set up your garage door opener with HomeKit. Get ready to make your life a whole lot easier with just a few simple steps.
- Ensure your garage door opener is compatible with HomeKit.
- Open the Home app on your iPhone or iPad.
- Tap the “+” icon to add a new accessory.
- Follow the on-screen prompts to scan the HomeKit code of your garage door opener.
- Once recognized, assign a room to the garage door opener.
- Set up automation and access controls as desired.
- Test your new HomeKit-enabled garage door opener for smooth operation.

How to Program a Garage Door Opener with a HomeKit-Compatible Device: A Comprehensive Guide
Understanding HomeKit-Compatible Garage Door Openers
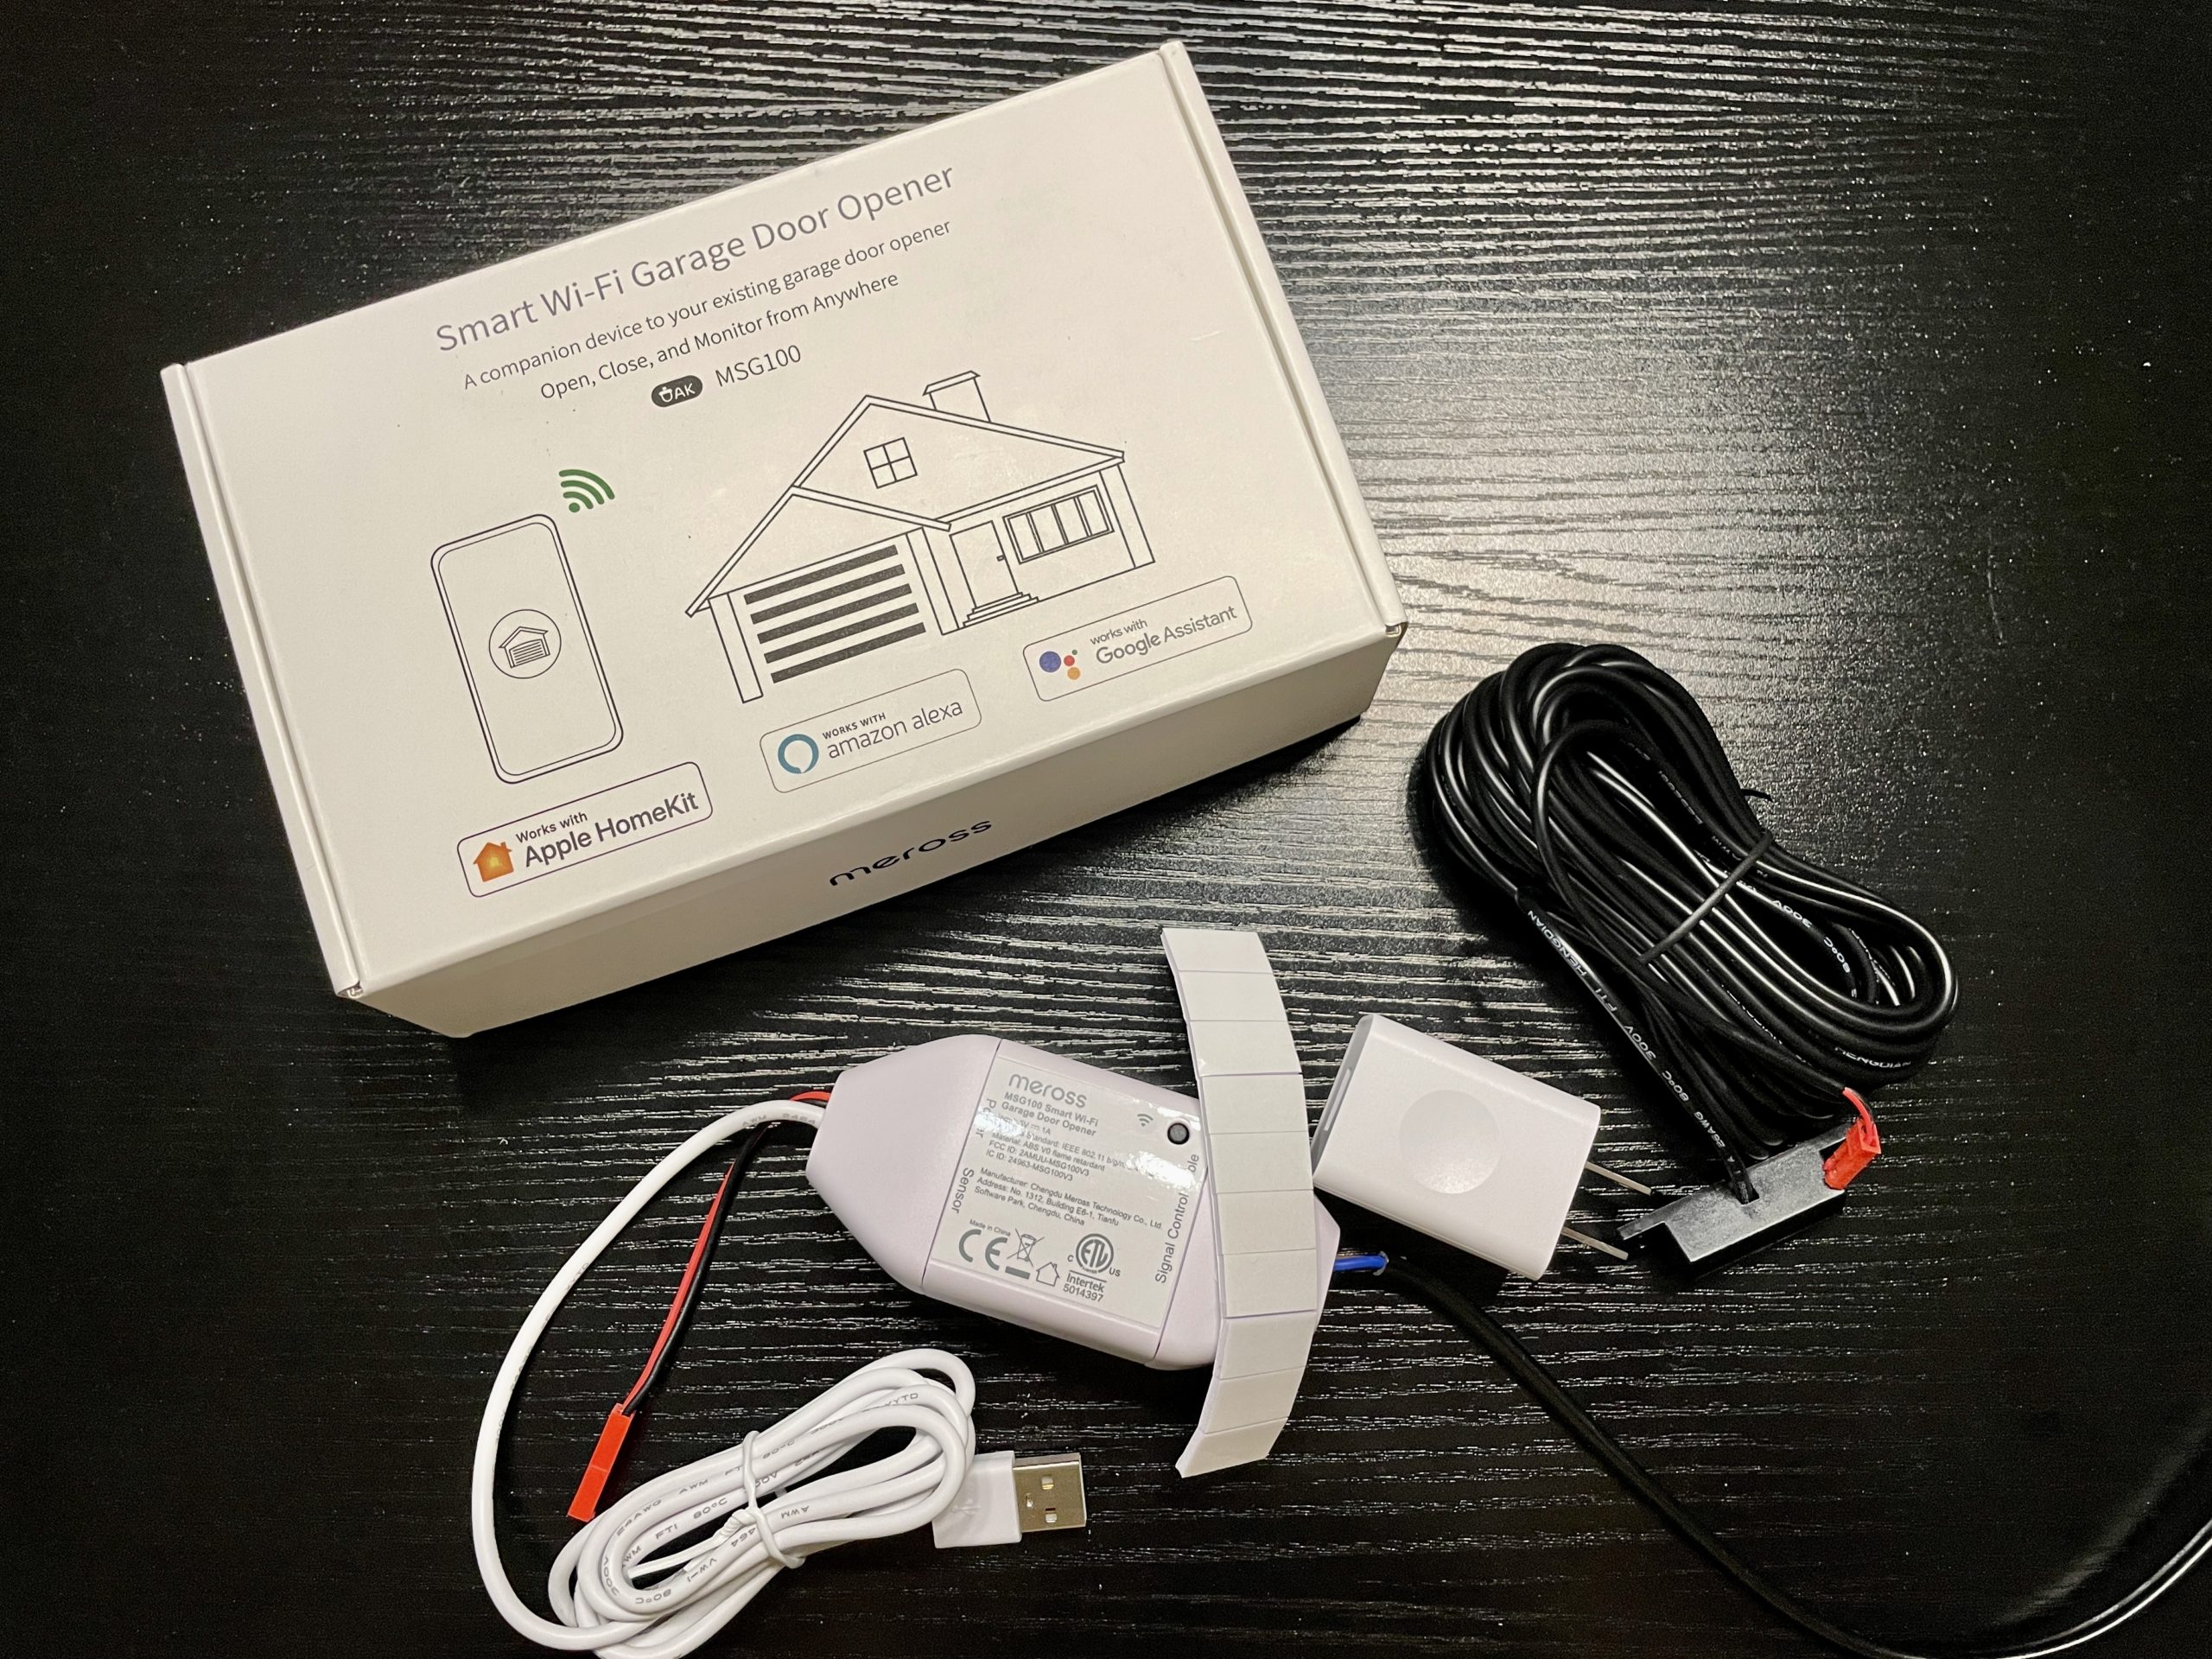
HomeKit is a home automation platform developed by Apple that allows users to control various smart devices in their homes through their iOS devices. One of the most popular HomeKit-compatible devices is the garage door opener, which enables users to open and close their garage doors remotely using their iPhones or iPads. To program a garage door opener with a HomeKit-compatible device, it is important to first understand how these openers work.
A HomeKit-compatible garage door opener consists of two main components: the garage door opener itself and the HomeKit-enabled bridge or hub. The garage door opener is responsible for physically controlling the opening and closing of the garage door, while the HomeKit-enabled bridge or hub acts as a bridge between the garage door opener and the HomeKit ecosystem. The bridge or hub allows users to connect their garage door opener to their iOS devices and control it using the Home app or Siri voice commands.
To program a garage door opener with a HomeKit-compatible device, you will need to follow a series of steps that involve configuring both the garage door opener and the HomeKit-enabled bridge or hub. These steps may vary slightly depending on the brand and model of your garage door opener and HomeKit-compatible device, so it is important to consult the instruction manual or manufacturer’s website for specific instructions.
Step-by-Step Guide to Programming a Garage Door Opener with a HomeKit-Compatible Device
Now that you have a basic understanding of HomeKit-compatible garage door openers, let’s dive into the step-by-step process of programming one with your HomeKit-compatible device. In this guide, we will use a hypothetical scenario involving a popular garage door opener brand, XYZ Garage Doors, and a HomeKit-enabled bridge called ABC HomeKit Bridge.
Step 1: Install the Garage Door Opener
The first step is to install the garage door opener according to the manufacturer’s instructions. This usually involves mounting the opener on the ceiling of your garage, attaching the necessary cables and brackets, and connecting it to a power source. Make sure to follow all safety precautions and consult the instruction manual for specific installation guidelines.
Step 2: Connect the HomeKit-Enabled Bridge or Hub
Once the garage door opener is installed, it’s time to connect the HomeKit-enabled bridge or hub. This device acts as a bridge between your garage door opener and your iOS devices, allowing you to control the opener using the Home app or Siri voice commands. Follow the manufacturer’s instructions to connect the bridge or hub to your home’s Wi-Fi network and pair it with your iOS device.
Step 3: Configure the Garage Door Opener with the HomeKit-Enabled Bridge
With the bridge or hub connected, it’s time to configure the garage door opener with the HomeKit-enabled device. Open the Home app on your iOS device and follow the on-screen instructions to add a new accessory. Scan the QR code or enter the unique code provided with your garage door opener to pair it with the HomeKit-enabled bridge. Once paired, the garage door opener should appear in the Home app.
Step 4: Customize and Test the Garage Door Opener
After successfully adding the garage door opener to the Home app, you can customize its settings and test its functionality. In the Home app, you can assign a name, room, and Siri voice command to the opener for easier control. You can also create automation rules to automatically open or close the garage door based on certain triggers, such as your location or the time of day. Finally, perform a test by using the Home app or issuing a Siri voice command to open and close the garage door.
Troubleshooting Common Issues with HomeKit-Compatible Garage Door Openers
Although programming a garage door opener with a HomeKit-compatible device is a relatively straightforward process, you may encounter some common issues along the way. Here are some troubleshooting tips to help you overcome these issues:
Issue 1: Unable to Pair the Garage Door Opener with the HomeKit-Enabled Bridge
If you’re having trouble pairing the garage door opener with the HomeKit-enabled bridge, make sure that both devices are within close proximity and that the bridge is connected to the same Wi-Fi network as your iOS device. It’s also worth checking if the garage door opener supports HomeKit and if it requires any firmware updates. Resetting both the bridge and the opener to their factory settings and starting the pairing process from scratch may also help resolve the issue.
Issue 2: Inconsistent Performance or Unresponsive Controls
If you’re experiencing inconsistent performance or unresponsive controls with your HomeKit-compatible garage door opener, there are a few things you can try. First, ensure that your iOS device has a stable internet connection and is running the latest version of iOS. Restarting both the bridge and the opener, as well as resetting their network connections, can also help. If the issue persists, contacting the manufacturer’s customer support team for further assistance is recommended.
Issue 3: Garage Door Opener Not Showing Up in the Home App
In some cases, the garage door opener may not appear in the Home app after pairing it with the HomeKit-enabled bridge. To resolve this issue, try restarting the Home app or your iOS device. Double-check that the garage door opener is powered on and within range of the bridge. If the issue persists, removing the garage door opener from the Home app and starting the pairing process again may help.
Benefits of Using a HomeKit-Compatible Garage Door Opener
A HomeKit-compatible garage door opener offers several benefits that can enhance your home automation experience. Here are some key advantages of using a HomeKit-enabled garage door opener:
- Convenience: With a HomeKit-compatible garage door opener, you can easily open and close your garage door using your iOS device or even through Siri voice commands. This eliminates the need for physical remotes or manually operating the garage door.
- Integration: HomeKit allows you to integrate your garage door opener with other smart devices in your home, such as lights, thermostats, and security systems. This enables you to automate various tasks and create custom scenes that enhance the overall functionality of your home.
- Remote Access: One of the major advantages of a HomeKit-enabled garage door opener is the ability to control it remotely. Whether you’re at work, on vacation, or anywhere else, you can easily monitor and control your garage door using your iOS device. This provides peace of mind and allows you to ensure the security of your home.
- Security: HomeKit-compatible garage door openers often come with advanced security features, such as encrypted communication and user authentication. This ensures that only authorized users can access and control the garage door, reducing the risk of unauthorized entry.
- Automation: By integrating your garage door opener with the HomeKit ecosystem, you can automate its operation based on certain triggers, such as your location, time of day, or the status of other devices. For example, you can set your garage door to automatically close when you leave home or open when you arrive.
Conclusion
Programming a garage door opener with a HomeKit-compatible device is a simple yet powerful way to enhance the convenience, security, and automation capabilities of your home. By following the steps outlined in this guide and troubleshooting any common issues that may arise, you can easily integrate your garage door opener with the HomeKit ecosystem and enjoy the benefits of centralized control and automation. Explore the various features and possibilities that a HomeKit-compatible garage door opener offers, and unlock a new level of smart home automation.
Key Takeaways: How to program a garage door opener with a HomeKit-compatible device?
- Make sure your garage door opener is compatible with HomeKit.
- Download and open the manufacturer’s app for the garage door opener.
- Follow the app’s instructions to connect your HomeKit-compatible device to the garage door opener.
- Configure any additional settings, such as assigning a name or adding Siri voice control.
- Test the connection by using the app or asking Siri to open or close the garage door.
Frequently Asked Questions
Welcome to our FAQ section on how to program a garage door opener with a HomeKit-compatible device. Here, we’ll address some common questions you may have about this process. Read on for helpful answers!
1. Can I program any garage door opener using a HomeKit-compatible device?
While the compatibility of garage door openers can vary, most newer models are compatible with HomeKit. However, it is a good idea to check the manufacturer’s instructions or website to confirm compatibility before purchasing a HomeKit-compatible device. Additionally, some older models may require a separate adapter to enable HomeKit compatibility.
By ensuring compatibility, you can take advantage of HomeKit features such as remote control, automation, and integration with other smart home devices, providing a seamless experience.
2. How do I begin the programming process with a HomeKit-compatible device?
To begin programming, first, make sure your HomeKit-compatible device is powered on and connected to a Wi-Fi network. Then, open the manufacturer’s app for the device and follow the provided instructions to add your garage door opener to the HomeKit system.
This typically involves scanning a code on the garage door opener or its packaging, assigning a name to the device, and customizing any settings or permissions you prefer. Once added, you can control and monitor your garage door opener through the Home app on your iOS device or via voice commands using Siri.
3. Can I program multiple garage door openers with a single HomeKit-compatible device?
Yes, you can program multiple garage door openers with a single HomeKit-compatible device. After adding the first garage door opener to your HomeKit system, simply repeat the programming process for each additional opener.
Make sure to follow the manufacturer’s instructions for each opener, as the steps may vary slightly. Once all your garage door openers are programmed, you can easily manage and control them from the Home app or by using Siri commands.
4. What if I encounter issues while programming my garage door opener with a HomeKit-compatible device?
If you encounter any issues during the programming process, there are a few troubleshooting steps you can try. First, ensure that your HomeKit-compatible device and garage door opener are within range of your Wi-Fi network. A weak or unstable connection may cause difficulties.
You can also try restarting your HomeKit-compatible device and the garage door opener, as well as checking for any firmware updates for both devices. If the issue persists, consulting the manufacturer’s customer support or online community forums may provide further guidance specific to your setup.
5. Is it possible to program my garage door opener with a HomeKit-compatible device if I don’t have an iOS device?
Yes, it is possible to program your garage door opener with a HomeKit-compatible device even if you don’t have an iOS device. While HomeKit is primarily designed for Apple devices, certain manufacturers may offer companion apps for Android or other platforms.
Check with the manufacturer of your HomeKit-compatible device to see if they provide support for non-iOS devices. Alternatively, you can consider using a HomeKit hub, such as an Apple TV or HomePod, which allows you to control your HomeKit-enabled devices using Siri commands from any iOS device, even if you don’t have an iOS device of your own.
How to Make Your Older Garage Door Opener Compatible with HomeKit!
Summary
So, to sum it up in simple terms: if you want to program a garage door opener with a HomeKit-compatible device, here’s what you need to do. First, make sure you have a HomeKit-enabled garage door opener. Then, open the settings on your device and look for the option to add a new accessory. Follow the instructions to connect the garage door opener to your HomeKit network. Once it’s connected, you can use the Home app or voice commands to control your garage door. It’s that easy!
Remember, always follow the manufacturer’s instructions and safety guidelines when setting up and using your garage door opener. And if you’re not sure about something, don’t hesitate to ask for help from someone knowledgeable. With a little bit of patience and know-how, you’ll have your garage door opener working with your HomeKit in no time. Good luck!